Photo Gallery and Info from the Epson Digital Couture Project Event in New York City, Plus News About the 2018 Event
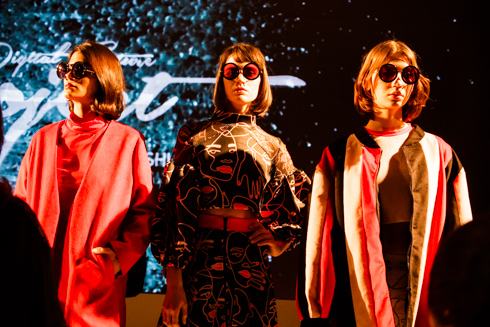
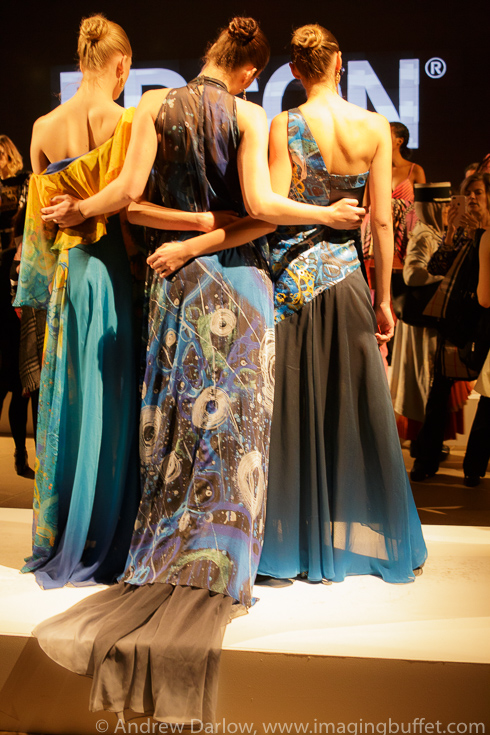
At the 3rd Annual Epson Digital Couture Event. Designer: Daniela Hoehmann. Photo © Andrew Darlow
I’ve been photographing people as a professional photographer and writer for over 25 years, but I’ve always focused more on catalog, advertising, product reviews and beauty salon-related work than runway shows and similar events that often occur during Fashion Week in Manhattan in February every year. However, last year I could not pass up an opportunity to attend an invitation only special event sponsored by Epson called the Digital Couture Project. On February 6, 2018, the 4th Annual Epson Digital Couture Project is happening once again, and I expect it to be just as impressive as the 2017 event.
Since this is not a topic I cover a lot here on imagingbuffet.com, I think I should mention who I think will get the most from this article:
• Anyone who wants to see cutting-edge fashion from designers around the world. To me, it’s like a global art exhibition, but with the designers expressing their art through their textile designs, and with male and female models serving as moving canvases. Two words kept coming to mind as I was looking at the wide range of textiles, color palettes and unique approaches to fabric printing: “Truly Incredible!”
• Anyone who has an interest in any type of garment printing, from direct-to-fabric printing (using printers like Epson’s SureColor F2000 and F2100), to dye-sublimation transfer printing (using printers like Epson’s SureColor F9370, F6200 and F7200). Once you see how these machines work, it’s easier to understand the technology and capabilities. I’ve included a YouTube video from Epson below that shows how an image can go from artwork on a screen to a design on fabric by first printing on a dye-sublimation transfer paper (in this case using an Epson SureColor F6200 printer), and then using a heat press to transfer the art to a fabric.
The video below offers a sneak peek into the 2017 event, and I especially like how they interview the designers who created the clothing:
Epson created an excellent overview of the 2018 event, its designers and the printers used for the project HERE.
Also, below is a GIF (courtesy of Epson) showing many of the featured collections from the 2018 event, as well as a list of the designers who participated:
- Brazil – Lua Luá (Michele Gevaerd)
- Canada (Toronto) – Hayley Elsaesser
- Chile – Karyn Coo
- Ecuador – Stephanie Ruiz
- Guatemala – Eduardo Figueroa
- Mexico – Emilio Mata
- Paraguay – Ilse Jara
- Peru – Ana María Guiulfo
- Colombia – Lina Cantillo
- United States (Los Angeles) – Candice Cuoco
- United States (Miami) – Fernando Alberto
- United States (Philadelphia) – Thomas Jefferson University (Alexandra Pizzigoni and Patricia Franklin)
- United States (New York) – threeASFOUR (Gabriel Asfour, Angela Donhauser and Adi Gil)
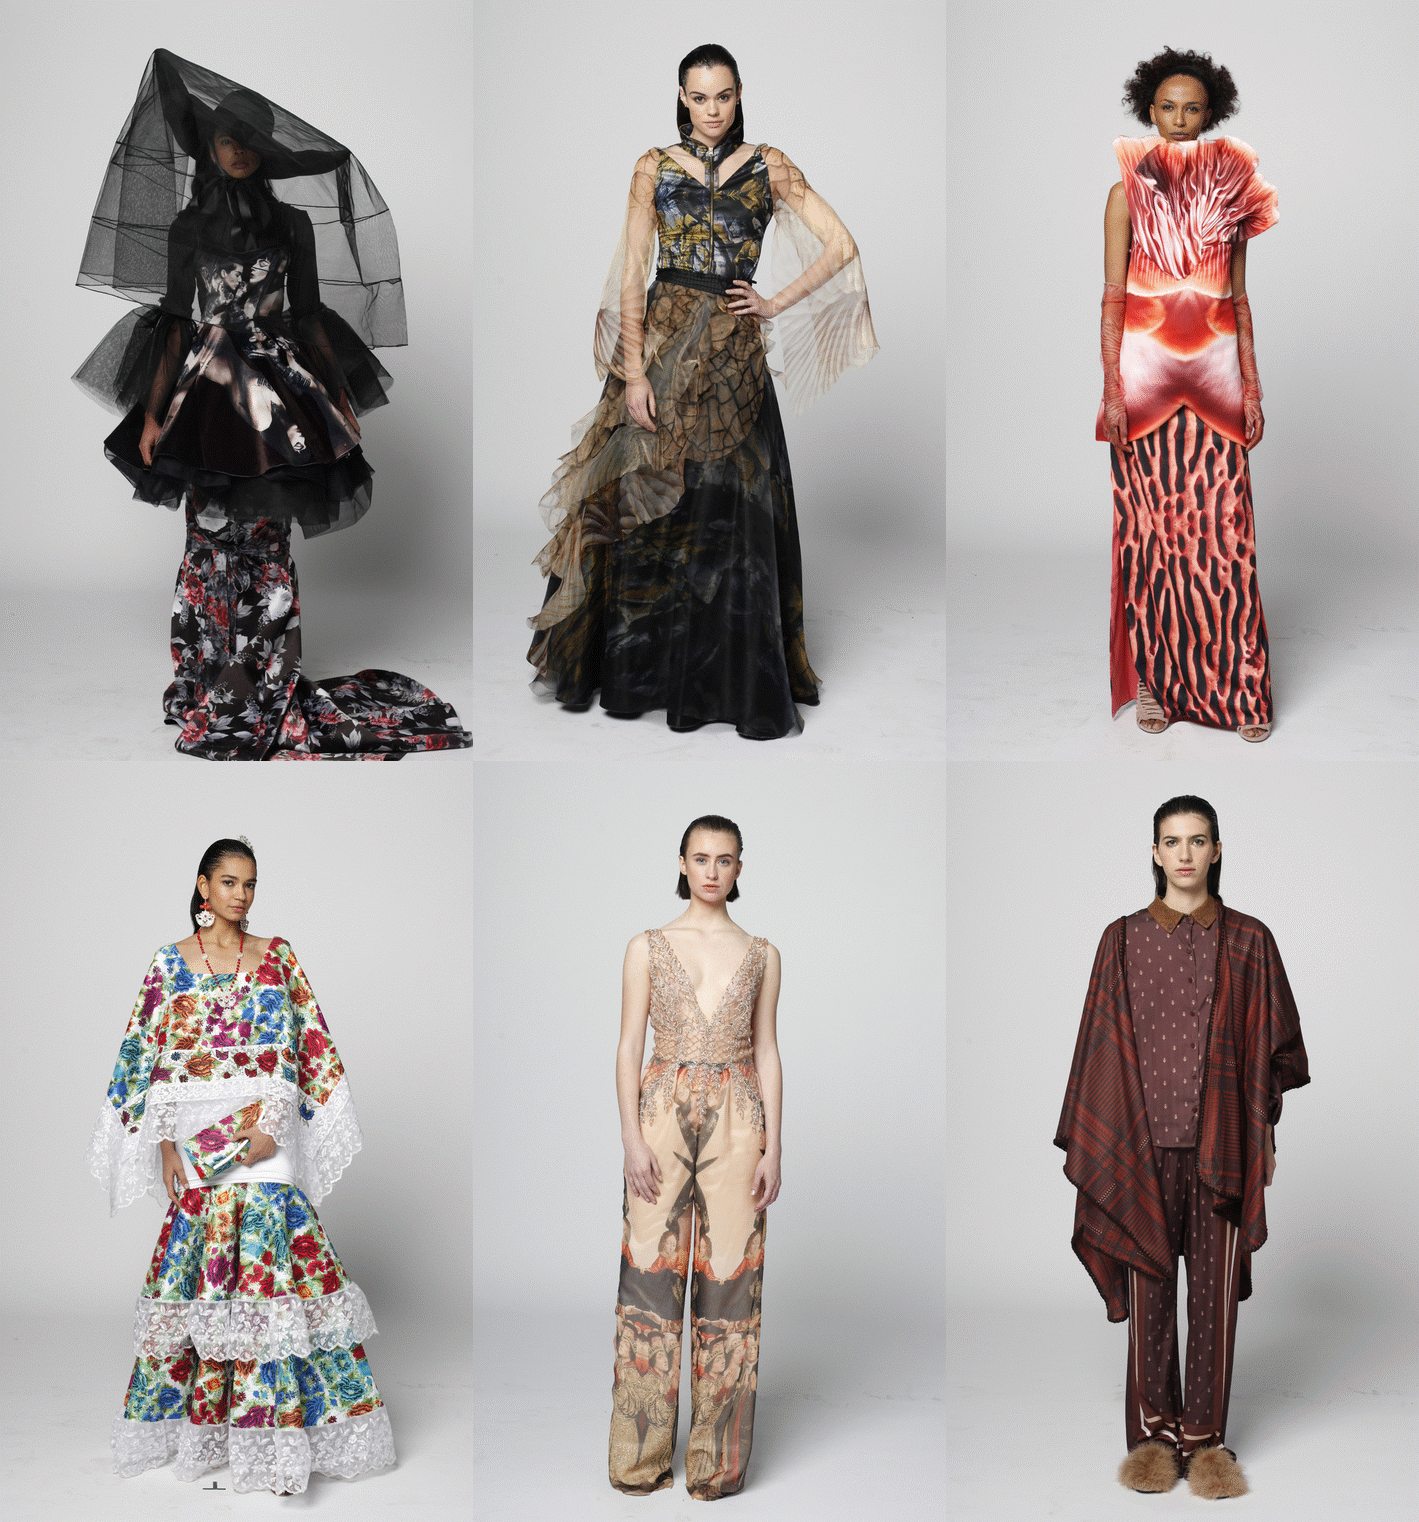
A selection of the fashions created by the designers listed above for the 2018 Epson Digital Couture event
For More About the Tech Behind the Fashion
The Epson SureColor printers listed earlier can also be used to print on transfer paper that can then be used with a heat press to create dye-sublimation metal prints (extremely popular these days), jewelry, snowboards, skateboards and much more. This page has much more on that, including information on how to request a free printed sample. Below is one of the Epson SureColor printers that was set up at the Digital Couture Project. It shows a few designs printed on dye-sublimation media prior to transferring the images to one or more fabrics using a heat press.’
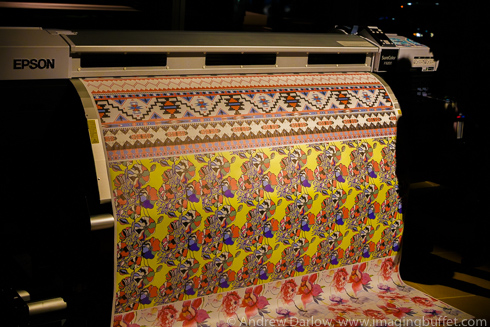
An Epson SureColor F9200 Printer at the Digital Couture Project event. Photo ©Andrew Darlow
Fashion designers and professionals (such as those who run print service bureaus), who are interested in Epson’s digital printing technologies can visit www.proimaging.epson.com for more information.
The Photographs
There are a few things that I should note about these photos. First, I used a Canon EOS 6D full frame 35mm DSLR for all of them. The 6D is outstanding in low light, allowing for the use of about ISO 1200-3200 with little to no visible noise in the shadow areas. If there is noise, it tends to be very “grain-like” without a lot of different colors, so it’s easy to reduce in Lightroom or other software. To increase my odds of getting sharp images, I used a combination of Shutter Priority Mode (set at between 1/1oo and 1/200 sec) with Auto ISO because I was relying on available light that was constantly changing, and not on or off-camera flash or LED lighting. I like the natural look that results from that approach, but it did mean that many of my photos had to be taken at ISO 3200 because the lens’ maximum (most open) aperture is f/4.5-6.3, depending on where in the zoom range the photos are being taken.
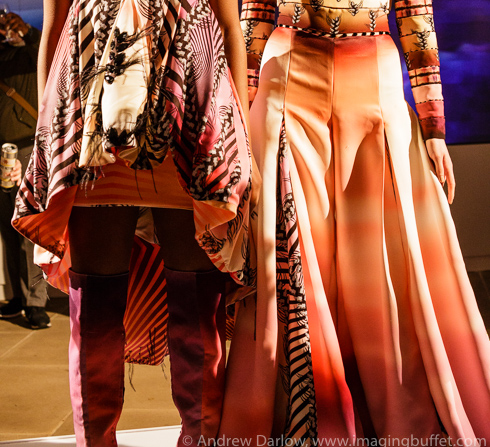
I also used just one lens for the entire shoot. It’s a beast of a lens due to its size and weight (approximately 4.1″ x 8.6″ (10.41 x 21.84 cm) and 4.33 lb (about 2 kg)), but I love it: the Sigma 50-500 f/4.5-6.3 APO DG HSM OS Lens For Canon EOS (it’s available in other mounts as well). It’s incredibly versatile due to its range, and I found the results to be very sharp at all focal lengths. As you can probably see from the images below, I enjoy taking photos from different angles, including from the back, as well as close-ups of items like shoes, which may or may not have been digitally printed like all of the other clothing. Some of the footwear by some of the designers was definitely printed digitally, which you can see in the video overview posted above. I believe that taking photos from behind a model, or when just one out of three of the models is facing forward, works very well because clothing is usually designed with attention to all of the “camera angles.”
And in case you are wondering here is the photo info for the image that opens this article and that shows designs by Daniela Hoehmann: 1/200 sec, f/4.5, ISO 3200.
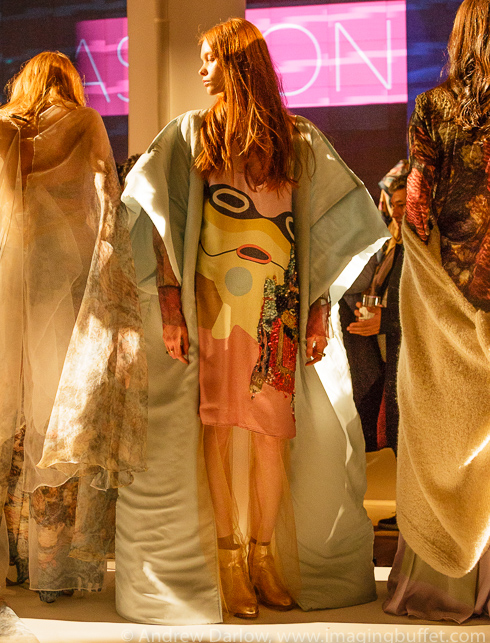
Designer: Susan Wagner, 1/200 sec, f/4.5, ISO 3200, Photo © Andrew Darlow
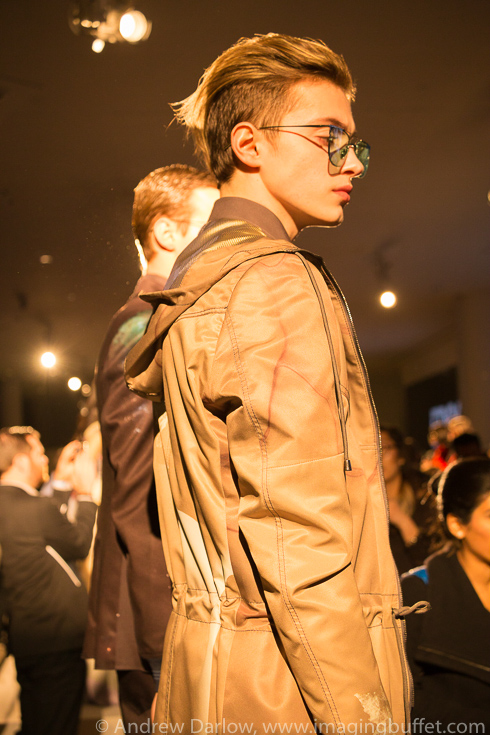
Designer: Ricardo Pava, 1/200 sec, f/5, ISO 1600, Photo © Andrew Darlow
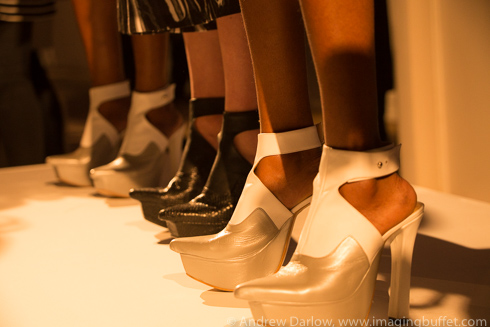
Designer: Sarah Richards, 1/200 sec, f/5.6, ISO 3200, Photo © Andrew Darlow
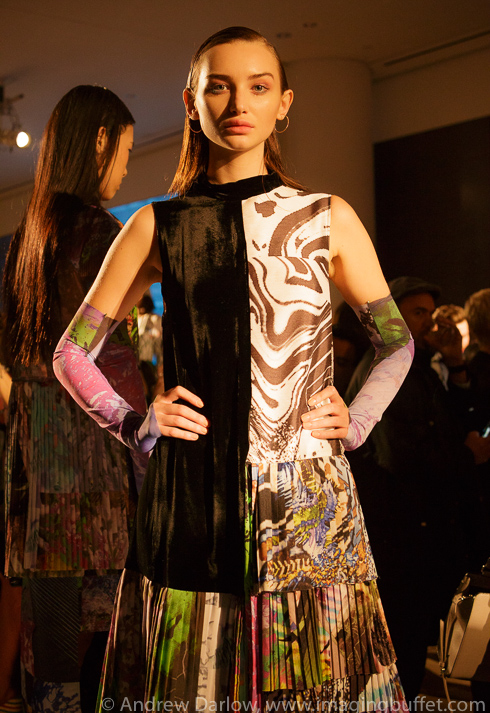
Designer: Vanesa Krongold, 1/200 sec, f/4.5, ISO 3200, Photo © Andrew Darlow
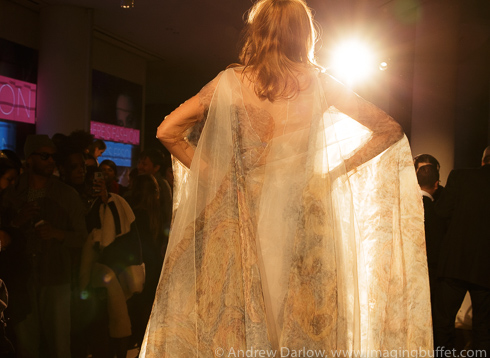
Designer: Susan Wagner, 1/125 sec, f/8, ISO 1250, Photo © Andrew Darlow
Designers: Daniel Del Barco and Sonia Chang, 1/100 sec, f/5, ISO 2500, Photo © Andrew Darlow
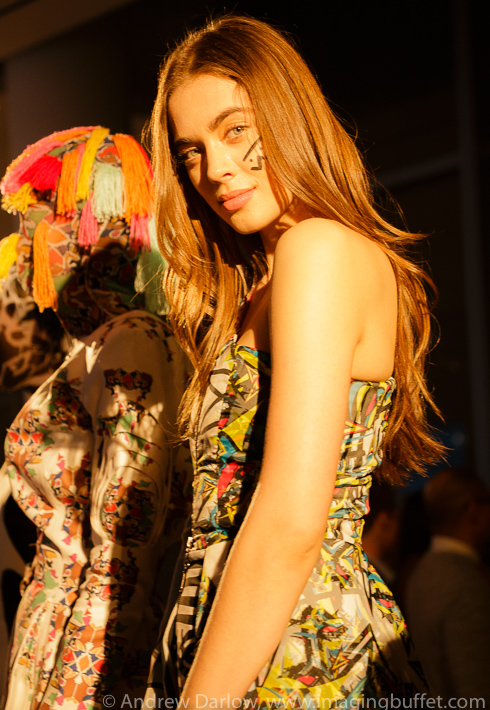
Designers: Miguel Moyano and Alex Polo, 1/100 sec, f/5.6, ISO 2000, Photo © Andrew Darlow
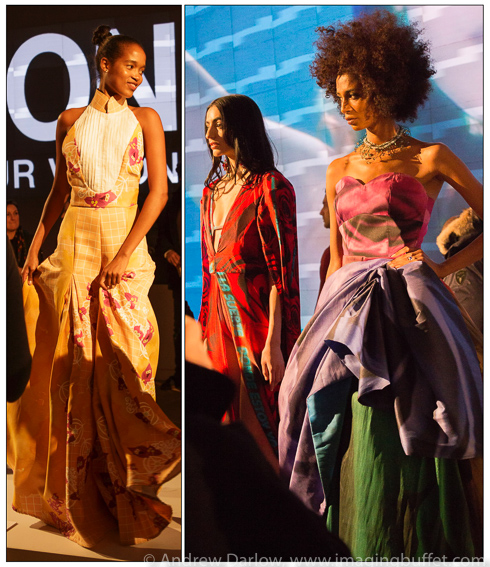
(Right Photo) Designer: Leonardo Mena, 1/200 sec, f/4.5, ISO 3200, Photo © Andrew Darlow
