
Luminar 3 with Libraries Overview and Special Offer
There is no shortage of Raw photo processing software that can be used to convert your images from Raw to many other formats (TIFF, PSD, JPG, etc.). Examples include Adobe Lightroom, Alien Skin Exposure X4 and Phase One Capture One Pro 12. Most photo processors also have powerful editing capabilities. And one thing I should note is that even if you don’t take photos using the Raw format that your camera may offer as an option, these programs work very well with other formats (even JPGs from smartphones). At their core, most of these programs are what’s known as “non-destructive editors,” which means that no matter what adjustments you make inside the software, you can easily get back to the original version of your images if you like, instead of having to make multiple copies before you begin editing. Lightroom has been my “go-to” application for years, but I’m always interested in seeing what else is out there.
That brings me to an impressive Raw photo processing application called Luminar 3 with Libraries. For the first time, the folks at Skylum have added a Library-based workflow to their application. I recently saw a live demo of the software, and I was very impressed by the speed at which viewing and editing can be done. I also like how easy they make seeing “before and after” effects with the slide of a bar across the screen. They also have some “AI” features and a sky enhancer that can dramatically improve the look of photos very quickly.
Currently, the DAM (Digital Asset Management) and other tools are not nearly as robust as in Lightroom (for example, there is no keyword support and no ability to create virtual copies). However, the folks at Skylum have been working to implement many more features, and to get an idea about what’s in store for the application in 2019 (which includes keywords and virtual copies), visit this page to see their planned roadmap.
I think that the video below by Trey Ratcliff can help you to get a good feel for how Luminar 3 with Libraries is different from other editors, and what its like working with the new Libraries features inside of the application:
For now, I personally will mostly be using Luminar 3 with Libraries to do edits that I feel can be done better (or much faster) than what I can do in Lightroom or another application. Or, I may process specific projects through the application so that I can quickly rate and edit a large number of images. For files that I would like to then manage in Lightroom, I will export my files from Luminar 3 with Libraries to a folder and then import them into Lightroom. If you keep your files managed with a non-destructive editor like Luminar 3 with Libraries or Lightroom, there’s no need to export your files until you need them for another purpose, like sending them to a photo lab for printing.
PRICING, AVAILABILITY AND A SPECIAL OFFER
Pricing for Luminar 3 with Libraries is currently $59 (normally $69). Also, you can save an additional $10 with promo code: IMAGINGBUFFET (look for the link to “Enter Promotional Code” at checkout). Also, unlike many other software companies’ licenses, one license covers 5 Macs or PCs (check their terms for specific details). Satisfaction is also guaranteed, with a 45 Day money back policy. If you currently own Luminar 2018, you are able to upgrade to Luminar 3 with Libraries for no fee. Also check the website for other possible discount offers if you own other products from Skylum Software.
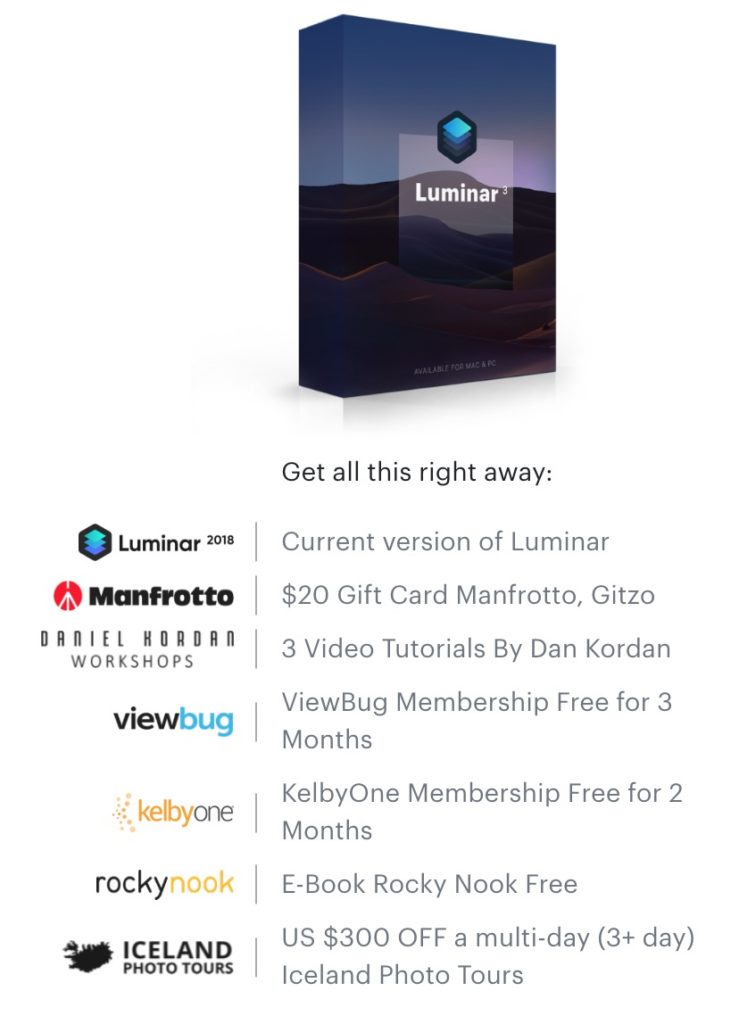
Also, when you purchase Luminar 3 with Libraries by 12/19/2018 at 5AM PST, you will receive all of the bonuses listed below (if you are thinking of taking a trip to Iceland and like the tours offered by Iceland Photo Tours, that bonus alone is very attractive):
For more information and to claim this very special offer, visit THIS PAGE.
I also have two more “Holiday Specials” to share:
1. The folks over at PhotoshopCAFE have a 15% coupon on everything in their store for at least the next four days (the promo code is 5days2018). To see all of the amazing video training they offer, visit this page. I just purchased their Making Movies in Photoshop Video Training. You can find that title HERE.
2. A few years ago, I created a GoFundMe page for my son Tyler’s intensive Autism treatment in Massachusetts. The results have been fantastic (what we learned we use every day, and Tyler has made great progress). As part of the rewards that were offered, two were consulting packages with me so that I can help others with their workflow, camera setup, custom printer profiles, printing (on their own printer or by using an outside service). I’ve decided to make those two packages available again for a limited time (until 12/31/2018). You will be saving $219 off my standard 6 hr rate ($975 for 6 hrs), and $255 off my standard 10 hr rate ($1,495 for 10 hrs). When I sent the offer to my newsletter subscribers, I was asked if I would create a special offer for consulting sessions under six hours, so I am now also offering a two-hour laser-focused session for just $350 (each additional hour is just $162.50; the same as the hourly rate of my 6-hr special consulting special).
To see if we are a good fit for each other, just reserve a no obligation 15 minute Strategy Session with me HERE, and if we decide that we’d like to work together, you can then choose from either consulting option. I’m also happy to create gift certificates for any of my consulting packages (they are 100% refundable if the person who you give the consulting to decides it’s not right for them after we speak for about 15 minutes).
That’s it for now! I wish you and yours a wonderful Holiday Season, and please don’t forget to back up your precious photos and videos.
All the best,
-Andrew
(Full disclosure: I have an affiliate relationship with Skylum Software (makers of Luminar 3 with Libraries), so I will receive a commission if you use my promo code or links above. However, your pricing before any promotional discounts is the same as if you visit their website directly. I have no affiliate relationship with any of the other companies listed above).
1
DxO Announces Availability of the Nik Collection by DxO 2018 v1.1
I’ve been a longtime user and fan of the Nik Collection. So that’s why I’m happy to see that DxO has continued developing the software after they acquired the rights to develop the software from Google. Prior to Google offering it for no fee for a while (when it was sold by Nik Software), the Collection cost hundreds of dollars, and in my opinion is still worth hundreds of dollars…as long as you use it of course :). The cost of the 2018 v1.1 bundle today is $69.
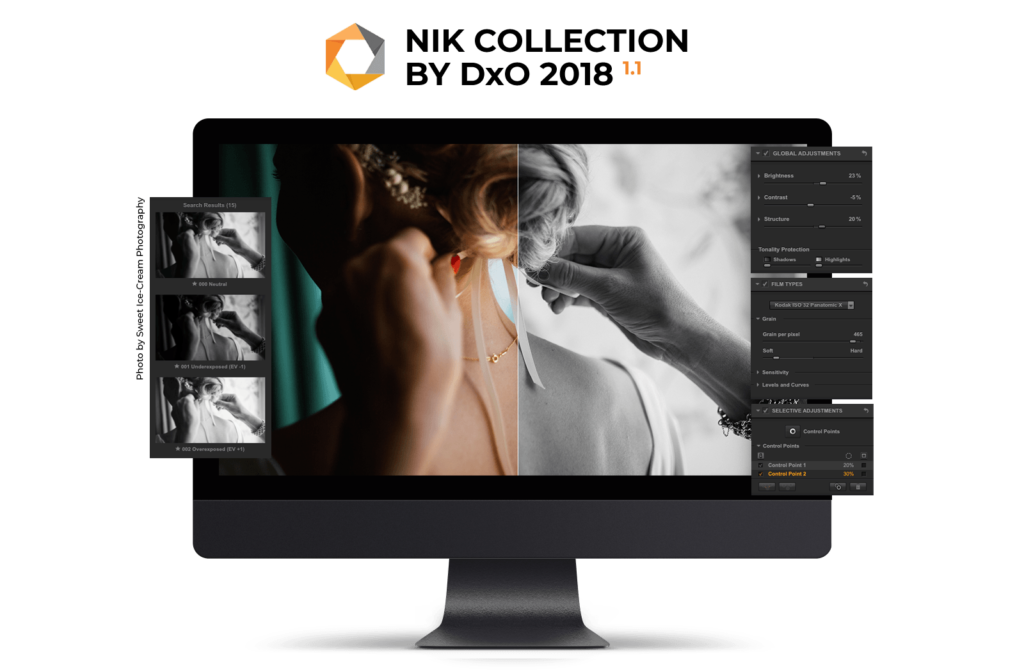
Photo by Sweet Ice-Cream Photography. Graphic courtesy DxO.
Featured in the latest version of the Nik Collection by DxO are the following seven plugins (Descriptions courtesy DxO):
• Analog Efex Pro, a classic lens, camera, and analog film simulator.
• Color Efex Pro, for color corrections, retouching, and creative effects.
• Dfine, which reduces noise in digital images.
• HDR Efex Pro, for editing HDR images.
• Sharpener Pro, for increasing the precision and detail of digital images.
• Silver Efex Pro, a black-and-white converter inspired by dark room techniques.
• Viveza, for locally adjusting color and the tonality of specific areas within the image.
Nik Collection by DxO can be opened with a number of other programs, including DxO PhotoLab 2, Serif Affinity Photo, Skylum Luminar, and other image processing software that features an export menu to a third-party program (or that’s compatible with Photoshop plugins).”
As I mentioned earlier, the cost of the Collection for Mac or Windows users is US $69 (£59 / €69). Users who purchased Nik Collection by DxO after June 2018 may update their software for free, and you can find a free 30 day trial HERE, as well as link to purchase the collection.
SUGGESTED WORKFLOW
I found this page very interesting on DxO’s website regarding a suggested workflow when using the plugins in the Collection. I generally use only one or two of their plugins for any one image, but it can be helpful to see what they recommend. For many more specific tutorials, I recommend entering the specific plugin name and tutorial into the search bar on YouTube.com. Below is one specific video tutorial by Serge Ramelli that covers both Lightroom and Silver Efex Pro that I found particularly good.
Official technical support from DxO for the Collection is available in the following languages:
English
French
Japanese
German
And the software is available in the following languages:
English
French
Italian
Spanish
Japanese
German
Portuguese
Chinese
Dutch
Korean
Polish
Russian
Thai
Turkish
As I noted above, the current cost of the Collection for Mac or Windows users is US $69 (£59 / €69), and users who purchased Nik Collection by DxO after June 2018 may update their software for free. You can find a free 30 day trial HERE, as well as link to purchase the Collection.
Excire Search: A Groundbreaking Search and Auto Keyword Tool for Lightroom – Hands-On Review

For the past 15 years or so I’ve been helping people organize, backup and print their photographs. And the one thing that has been a challenge for almost everyone (including me!) is keywording. It’s just not a lot of fun (for most people) to go through thousands (or hundreds of thousands) of images and videos and assign appropriate keywords to them. But keywording images and videos can pay huge dividends in the long run because having a collection with good keywords means that you can more easily find images for personal projects, client work and stock photography licensing.
Face recognition inside of Lightroom and other programs has helped quite a bit, but it’s far from perfect. And of course, not every photo has a recognizable person in it, so we have been faced with a problem in need of a solution. Until now.
The solution I’m referring to is a Lightroom Classic CC plug-in called Excire Search. And it does more than just automatically create keywords.
What it Does
Excire Search works via a Lightroom plug-in to “initialize” or look through your image collection one image at a time so that it can then use the image information to both create keywords and allow for creative searches by keyword or even via a sample image uploaded from your computer. It can initialize 10,000-20,000 images per hour (according to the software’s developer), but it depends on your system and whether you have already created Smart Previews. I didn’t time the process exactly, but Excire Search Pro initialized just over 400,000 images in my catalog on a MacBook Pro over a period of 4-6 days (I stopped the process a few times to take my computer with me, and I had very few Smart Previews in my catalog before starting the process). While it was initializing, I was still able to work on my computer and inside Lightroom. You can run a new initialization at any time, and it will quickly recognize which photos have already been initialized.
In case you’d like a quick look at how good the automatic keywording can be, I was very impressed by what the software came up with for one of my photos that included hot air balloons (click on the image to see the keywords much larger):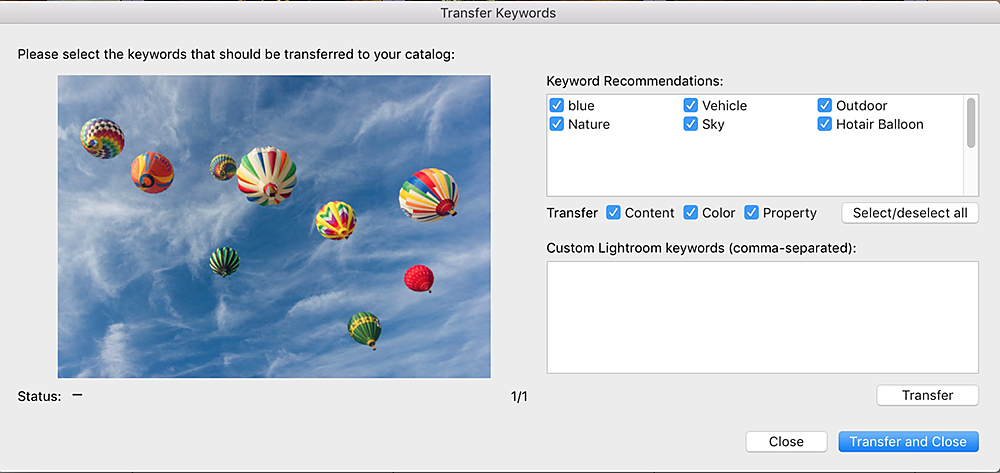
Getting Started
Installing the Excire Search Plug-in, setting preferences and starting the initialization process takes just a few minutes, but it can be a bit confusing. After downloading the plug-in (it’s available for Mac and Windows), I would recommend viewing the following videos for step-by-step instructions. I’ve also included a screen shot of the main settings below:
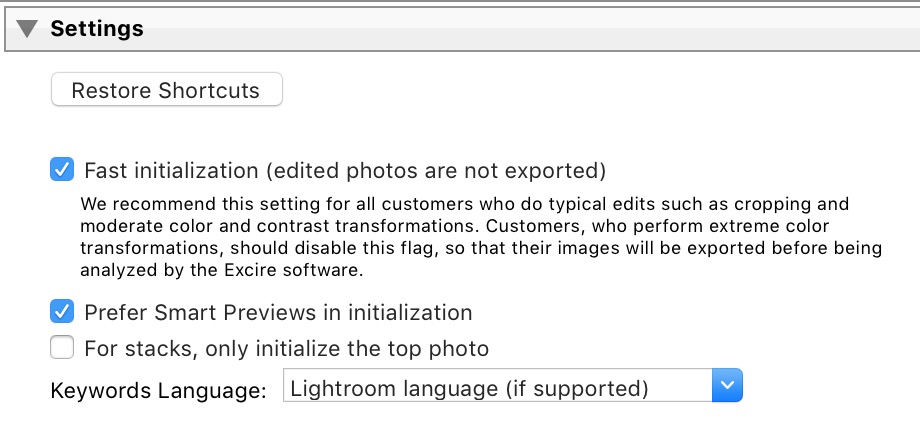
Caption: I chose to use the Fast initialization option because of the size of my catalog, but you might choose to uncheck that box if you make a lot of edits (especially if you convert a lot of images to black and white without first making Virtual Copies). Because I don’t use many stacks (stacks are very useful if you shoot a lot of panoramas in sections or multi-image HDRs), I unchecked the third box. And because I have generated a lot of Smart Previews over the years, I chose to “Prefer” them when initializing because the makers of the application say that can speed up the initialization process.
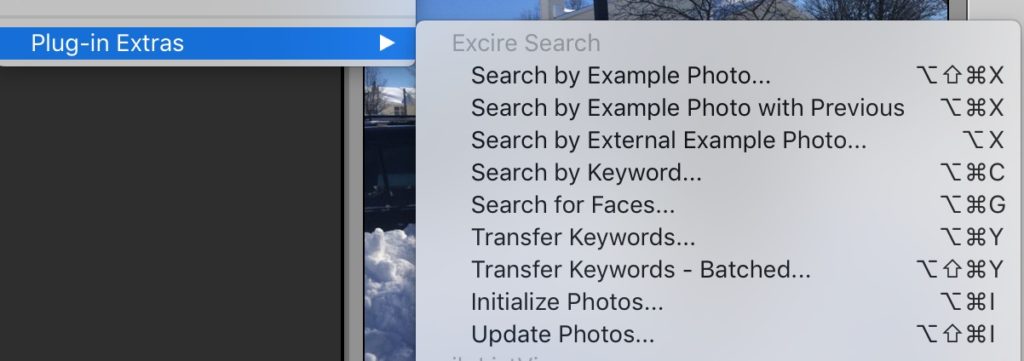
As you can see in the above video, searching by example photo is like magic! You just choose an image from your library (or an external image), then navigate to Library>Plug-in Extras>Search by Example Photo (or choose one of the other two Search by Example Photo options). Choosing Search by Example Photo with Previous will use the Previous Settings, such as how many results to display and whether to reference the example photo’s content or color. You can also search by Keyword or for Faces. In case you are wondering what “Update Photos” means (it’s the last item on the list under Excire Search), if you make large color or density changes (or convert images to black and white), you may want to choose the photos on which you made those edits and select “Update Photos.” The Excire Search engine will then look at those photos again and create new keywords.
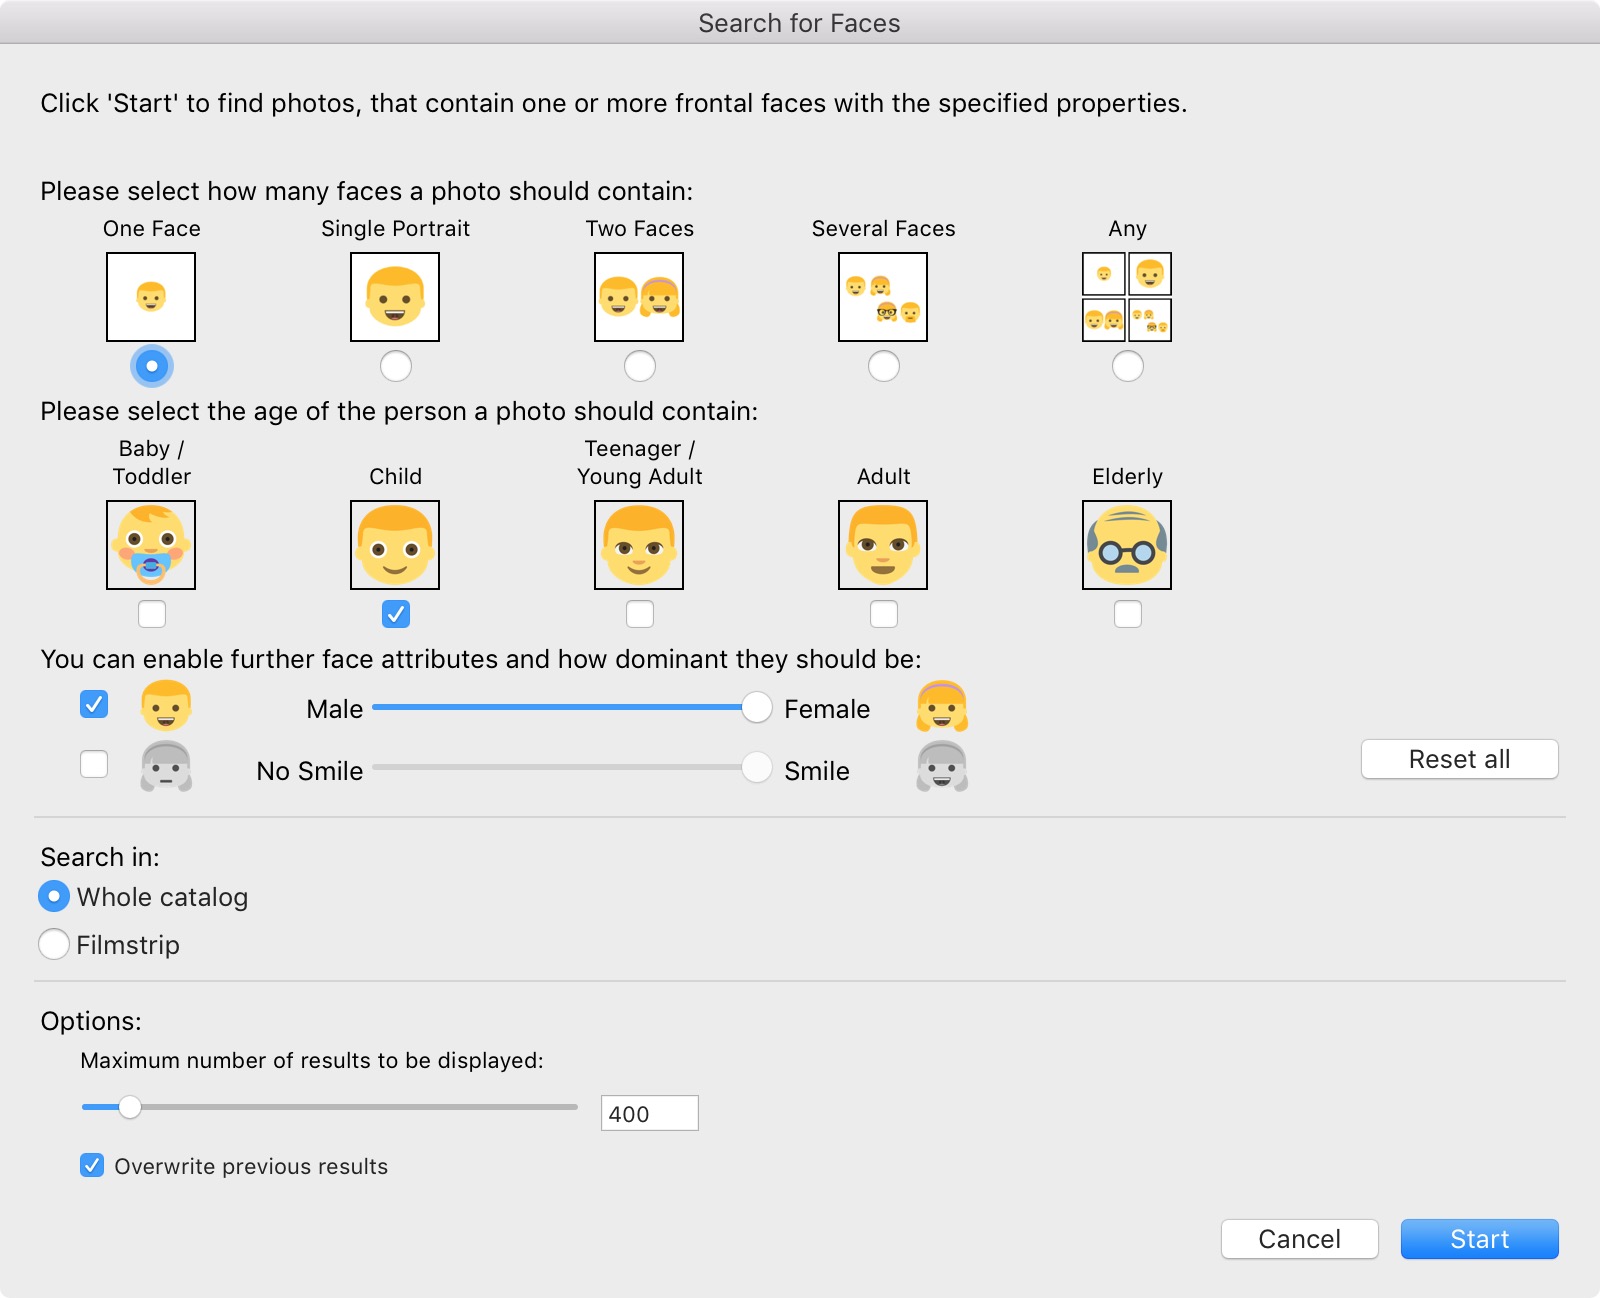
The Faces dialog box is so incredible to me. You can choose from a wide variety of different criteria, including the number of faces, an age range, male/female, and even whether or not people are smiling. I’ve included a screen shot below, and in my testing, it was extremely good at showing me images that closely matched what I requested (click on the image below to see the dialog box much larger). That being said, it was better at distinguishing between male and female faces for adults compared with children, which is very understandable (even the iPhone X’s face detection is less accurate with children’s faces compared with adult faces).
Pricing, Language and Availability (Plus a Special Offer for Our Readers)
Excire Search is available in two configurations: Excire Search (US $69) and Excire Search Pro (US $119). The plug-ins are identical except for the fact that Excire Search Pro draws from a larger group of keywords (about 500 vs. 125), and it also offers the ability to transfer keywords (individually or in bulk) that it creates into the Keyword List inside of a Lightroom catalog. For my workflow, the ability to transfer keywords is essential, so I am using Excire Search Pro.
Currently, the software is available in English and German. If you’d like to test out Excire Search or Excire Search Pro, visit this page for a free, fully functional 15 day trial. Also, if you decide to purchase Excire Search Pro, the company created a special 10% discount code for my readers: Just enter “AndrewPro10” (no quotes) at checkout.
I also noticed this text from the company’s site re: giving back: “A small portion of every purchased Excire Search download will be held in a special fund for support to a variety of nonprofits in the United States market. We’ll be developing our own Giving Back Advisory Board who will help us decide each year on a different charity needing more support.”
Conclusion
It’s difficult to express how happy I am with Excire Search Pro. It was like someone out there was listening to my prayers. (turns out it was a lot of very smart engineers!). I was told that the company is always doing research and working on how they can improve the software, and I look forward to seeing how it develops over time.
Related Articles
One of the best things about the internet and blogs is that I can reference other articles about Excire Search that I found useful. One review of Excire search that’s at the top of my list is by Bryan Esler that appeared on the excellent photo website: photofocus.com. You can read his review here. I’ve also had the honor of having a number of my articles published on the site over the years. There’s also a comprehensive article by the people who make Excire Search on the topic of speed and accuracy with different technologies that automatically generate keywords. You can find that article here.
If you’d like to test out Excire Search or Excire Search Pro, visit this page for a free, fully functional 15 day trial. And if you like it and decide to purchase the plug-in, there’s a special 10% discount code for our readers: Just enter “AndrewPro10” (no quotes) at checkout.
(Full Disclosure: Apart from being provided a license code for Excire Search Pro, I was not compensated in any way for writing this article. Please note that this article may contain affiliate links to the Excire Search website, which means that I may be compensated if a purchase is made after clicking through or by using a promo code. If you would prefer not to use my links, just visit your favorite search engine and type in: “Excire Search.”